NAME OLHP 2019 Souvenir
What is OLHP? Online Houseparty
What is NAME? National Association of Miniature Enthusiasts
Wait, online? How can you have a houseparty on line? There are many activities that are done via webpages. But some of it is virtual or using your imagination. I love that part. I can interact with other attendees via chat room, but mostly via email.
This year I was both the Gold Star Volunteer chair and the Newsletter writer with lots of help from my virtual id: Mini Bunny.

Together we have sent weekly emails and now during the OLHP that started May 15th, 2019, daily since Saturday.
I took the whole week off this week so I could finish the newsletters and play with the souvenir and the TNP. What's a TNP? Thursday Night Project. Many of the activities we have are from NAME's houseparty concept like Auctions, Salesroom, Roundtables quick workshops, and more including this TNP.
The souvenir size I choose is 1:48 scale, as it is my preferred scale. But the 1:12 scale version is available for me to purchase. I'm tempted. Being a souvenir that has to be mailed, the NAME Board allow us to send kits instead of finished items. Although we get some of those too.

The second issue is the tissue is too wrinkled and raised.
I've done this technique before when I was doing my Raggedy Trunk. I got stuck on it because I didn't like what I did. Finally I sanded it all off and just went with paint that time around. But for this one I was determined to use the tissue.
Don't use too much glue. You want wrinkles but not raised ones.
I actually sanded off the layer of tissue for the one on the right (bottom) and then later the ridges on the one on the left. (Perfectionist issues.)


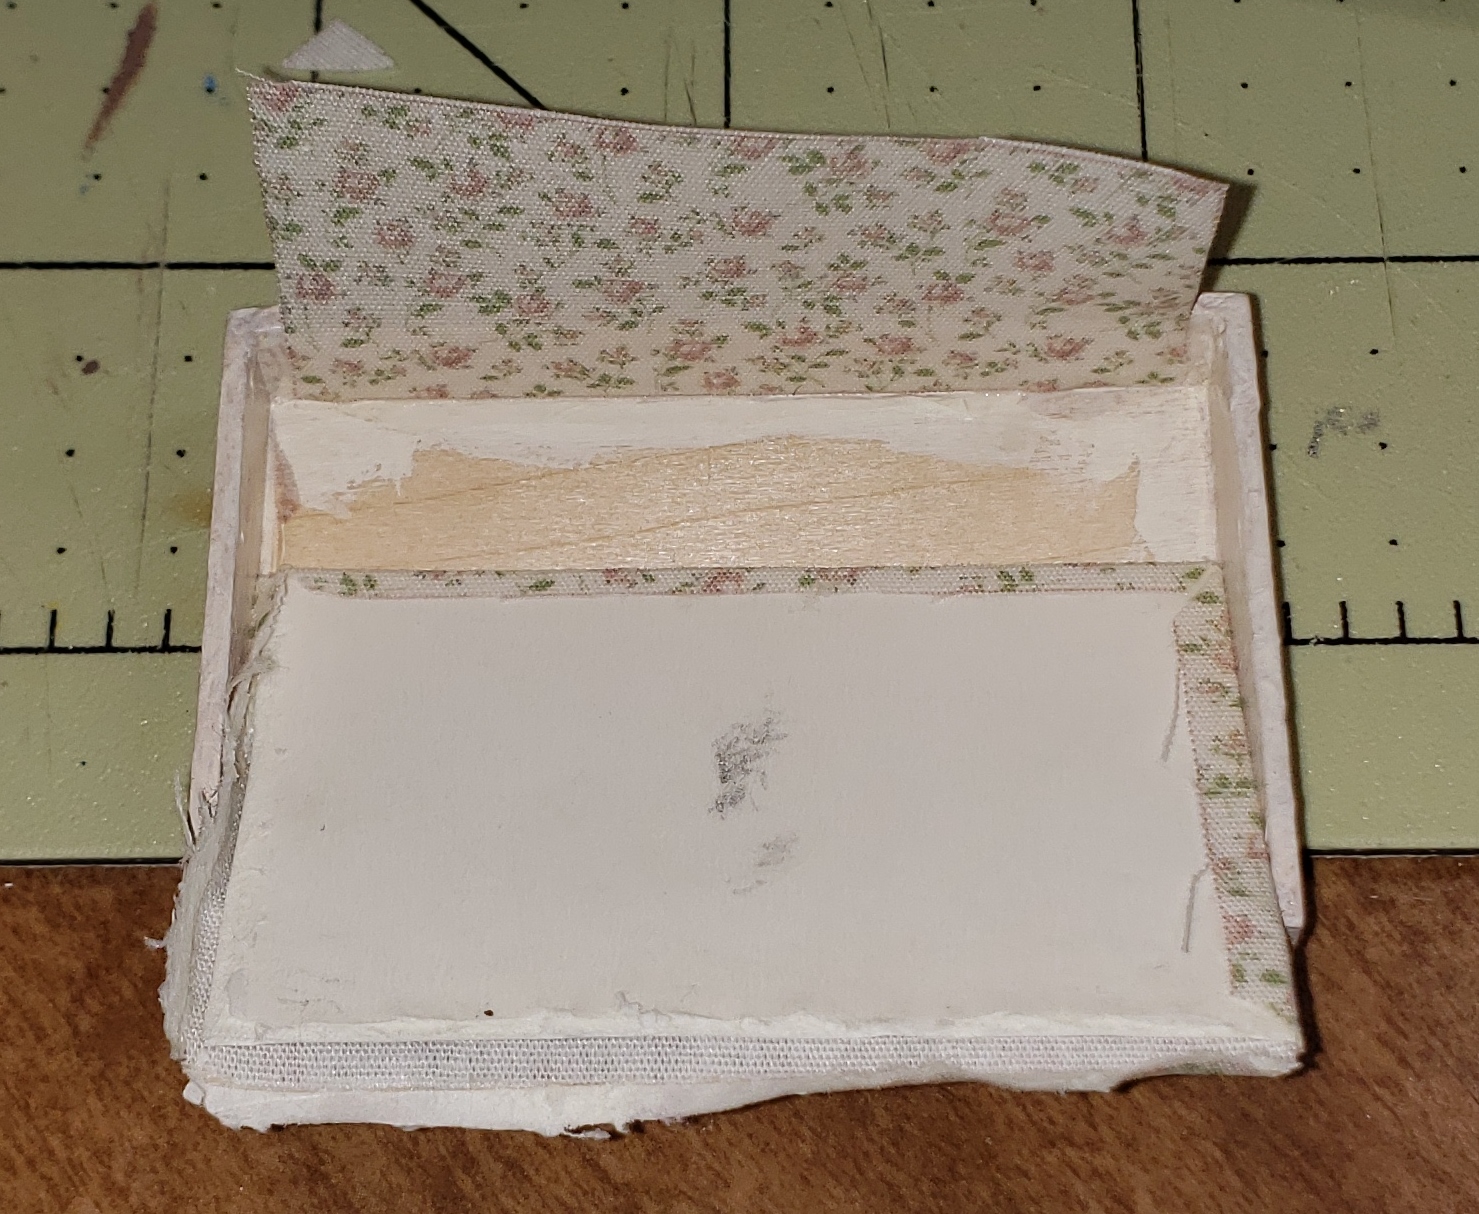
It worked out fine as I was able to hide it under the side walls insert.
Also I glued the hinge to the wrong side. But I was able to remove it.
After all that, I didn't take more photos. Everything went together just fine. Just me and my perfectionist nature getting in my way.
On the door, I glued the image to the back of the door and frame per instructions. (Really smashingly wonderful laser cut design.) I used triple thick for the glass. I suggest doing this on a piece of wax paper instead and then gluing. Plain glue might work. I have two other products I could have tried but didn't. It looks fine in these pics but I know there are lots more bubbles.


The labels on the top (right side) were from a printie sheet provided in the Hospitality room.


Inspired by the gold/brass like material I decided to keep this faux credit card because in the bad lighting and no readers/magnifiers, I thought it was gold on the back too. But no - just plain old chipboard. LOL
No comments:
Post a Comment