Showing posts with label raggedy ann. Show all posts

Saturday, June 23, 2018

Independence Day

I love raggedies and so have made and collected quite a few. These all lend themselves easily to the patriotic theme, which I have several in other projects as well.
No new things - just thought I would share.


1:48 scale RA House

 1/48 scale RA Trunk
1/24 scale RA garden box
 1/48 scale patriotic bedroom
1/48 scale Fireworks Stand - Star Banger's
1/12 scale American bedroom

To see more photos of any of these projects check out my photos on picturetrail
You can also explore how I made some of these using the tags on the right of the blog.

Saturday, September 24, 2016

In the box - Raggedy garden corner

A few months ago, I challenged Little Enough News members to think inside the box. I wasn't able to work on one myself although I bought a box to use. I was planning to use the lid as an extension of the box for a extra space and at the time wanted to do  Thanksgiving or Autumn.
Last week I bought two raggedy dolls on ebay for a song. I was so excited that I got such a great deal.  I looked at these dolls and thought what could I do for them to get a home. But I put them down and had to come back.
Later I was moving some items around because I had been packing and shipping stuff for my garage sale. I spied the box I bought for the In the Box challenge and I thought, yes. This is what they can go in. 
I had bought the frame at some point and had in mind to build a box to fit, but this box fit.
Here's my initial items to use:
I didn't take any in between pics, so I will just outline the steps.
Box
The box had a lid and I decided it wasn't needed for this frame. I painted the outside an off white. Inside was light blue on all walls except the floor. The floor was painted brown.
This part was easy.
Later I added the clouds to the ceiling and along the top of the walls.
I applied glue to the floor and sprinkled on the ground cover. Patted it into the glue and let dry. Shake it off to remove excess.
Then I added some shrubbery, keeping in mind where the bench was going to go.
The bench was repainted to fix some issues I felt with the pink. I did consider some greens, black or brown. I decided to repaint off white and just fix the pink color. For once I did not paint the entire thing. I wanted this to be quick as possible, so I didn't repaint the back (that doesn't show) or the bench. 

Frame
The frame took the longest to do. I painted three coats of off white. Getting in the openings I intentionally used a cheaper brush so to not ruin one by pushing into those openings. I only painted the back of it once to allow for warping. I think the cutouts helped with this as I had very little issue with that. I sanded between each coat.
As I painted it I wanted to do something to use the red and blue colors of the dolls. One idea I considered but discarded was to add glue or puff paint to add dimensional details. Another idea was to stain over the paint to give an antiqued look. Also this was discarded. It was only after the inside of the box was done that I came up with another idea on how to incorporate the red and blue.
I pulled from my stash some red papers. I decided I wanted to use some red tissue paper although I considered some shiny paper and also some glitter paper. I considered to cover all the openings with the red, but then I thought what if I added blue in some openings. I didn't have any blue tissue paper so I checked my ribbon stash.
In hindsight the all red for the openings would have been much easier, but I am very satisfied with the combo of red and blue. There were several places that I had to use the ribbon side by side to cover the opening since the ribbon I had wasn't wide enough.
One idea for the back, would have been to have a second frame to cover the back to cover the mess. But I didn't have one of those and I like that I can see light through the covered openings so I will leave it a mess in the back.

Base
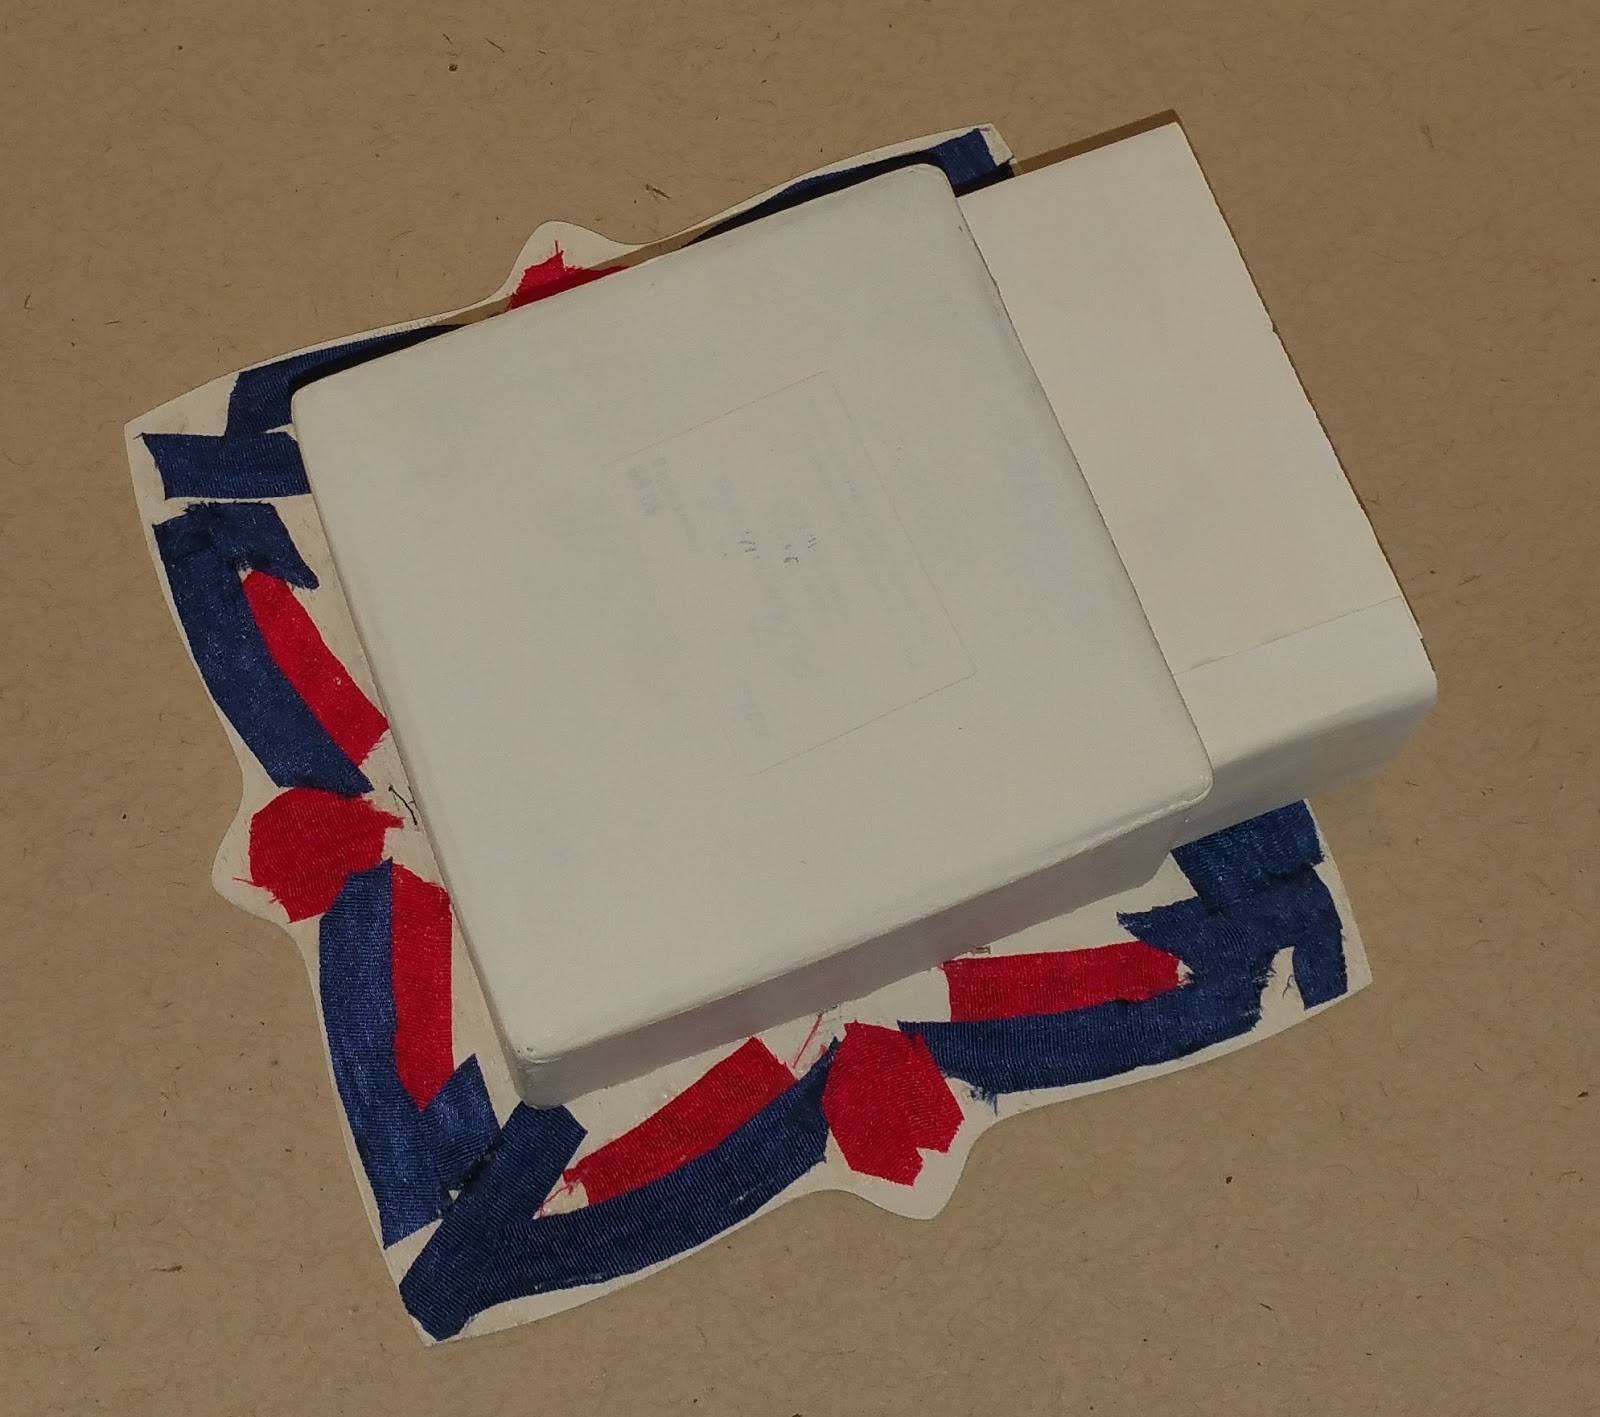
I knew the frame needed to have the box lifted since the frame couldn't support the front. I noticed the smaller box on my desk and it was the right size height wise, but not big enough to support the box and frame. I had more of the smaller box, so I used two. I then ended up covering these two boxes with some thin card that I painted to match.

Now for the finished piece
From start to finish it took about 4 hours. 

Ideas to make it quicker:
use a printed background in the box
use a single color for the opening or none
stain the frame (then the edges in the openings don't have to be dealt with)
leave the box outside unpainted
not repaint the bench

Saturday, November 14, 2015

Raggedy House Updated 2015

The Raggedy Ann doll turned 100 in Sept. Wow! 

I was a reader as a child and I loved the Raggedy Ann books.  My mom made me a doll and here is a picture
My mom said that the hair was a labor of love.  Apparently it took a lot of time to do.
I very well remember that doll but sadly I didn't keep it.  

As I was filling my Swaps Mall, I ran across some swaps that were intended for one of my RA projects.  The RA House didn't have a container so I had not added a base that would use those swaps that were mostly outdoor.  Earlier this year I bought several containers including one that I decided would house this RA project. 

This week I made the base and used what swaps I could to fit the base.  I added some flower beds with edging to match the house.  The edging is made of thin card cut with scalloped scissors and then I used a hole punch.
The pond was a swap made by Wanna.  In the wheelbarrow (purchased) is a pot of flowers made by Pam Junk.  The flag and the round stones leading to it were also swaps.
As I was looking at my swaps to add to the base, I also discovered this sweet little vase of flowers.  I added it here at the top of this shelf.
More pics of this project

I intended to post this back in Sept, to celebrate Ann's birthday month.  So I am also sharing pics of the other various RA projects I have done in miniature.  I really can't get enough and can totally see myself doing more in my future.
In no particular order:
RA Trunk

RA Play in the Woods I & II
I made two different ones of this
This one I offered as a kit to my club and also at the shop in Nashville.
I love Andy as much as Ann.  Isn't his little boat cute?
BunnieAnn's Bedroom in an Altoid Tin

I started collecting RA things late in my mini hobby so many are in existing projects but I do add to my collection when I can.
This is a treasure I got earlier this year.  The artist is Maureen Thomas.  I have several other of her dolls and rabbits including another raggedy set.
Isn't that panda cute too?
I got this at a show in Atlanta.  A miniaturist was selling her collection.  (I can't imagine why ? ;-) )  So I got it for a really great price.  It was worth going to that show just to have picked up this wonderful piece.